 how-to
How to File a Storm Damage Claim Step by Step
Table of Contents
- What to Do Immediately After Storm Damage
- How to Document Storm Damage for Insurance
- Review Your Policy and Understand Your Coverage
- Step-by-Step Guide to Filing Your Storm Damage Claim
- Tips for Dealing with Insurance Adjusters
- What to Do If Insurance Company Denies Roof Claim
- Conclusion
- Frequently Asked Questions
Last Updated: September 9, 2026
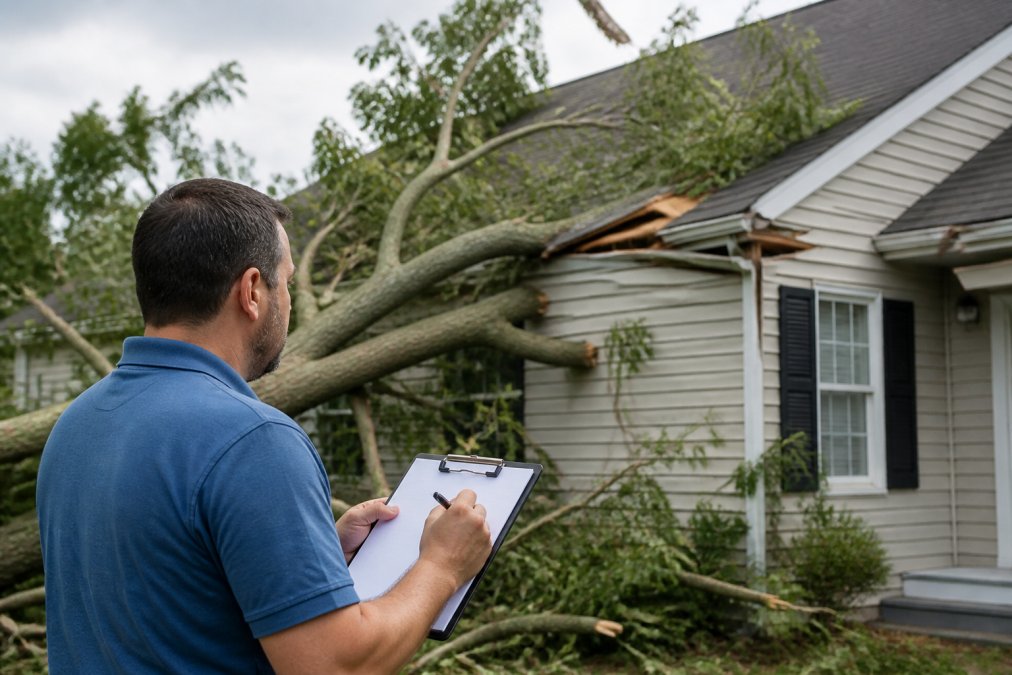
Filing a storm damage claim step by step can feel overwhelming, especially when you are managing a damaged roof, downed trees, and water intrusion all at once. The process is straightforward once you understand the sequence: secure your property, document everything, review your policy, and communicate strategically with your insurer. This guide walks you through each stage so you can protect your home and maximize your claim settlement.
What you do in the first 48 hours often determines whether your claim gets paid in full or faces delays. Most homeowners make two costly mistakes: they start cleanup before taking photos, and they speak with the adjuster without understanding their deductible and coverage limits. You will avoid both by the time you finish reading.
What to Do Immediately After Storm Damage
Your first priority is safety, followed by preventing further damage. The insurer expects you to make temporary repairs, but you must document the damage before you touch anything.
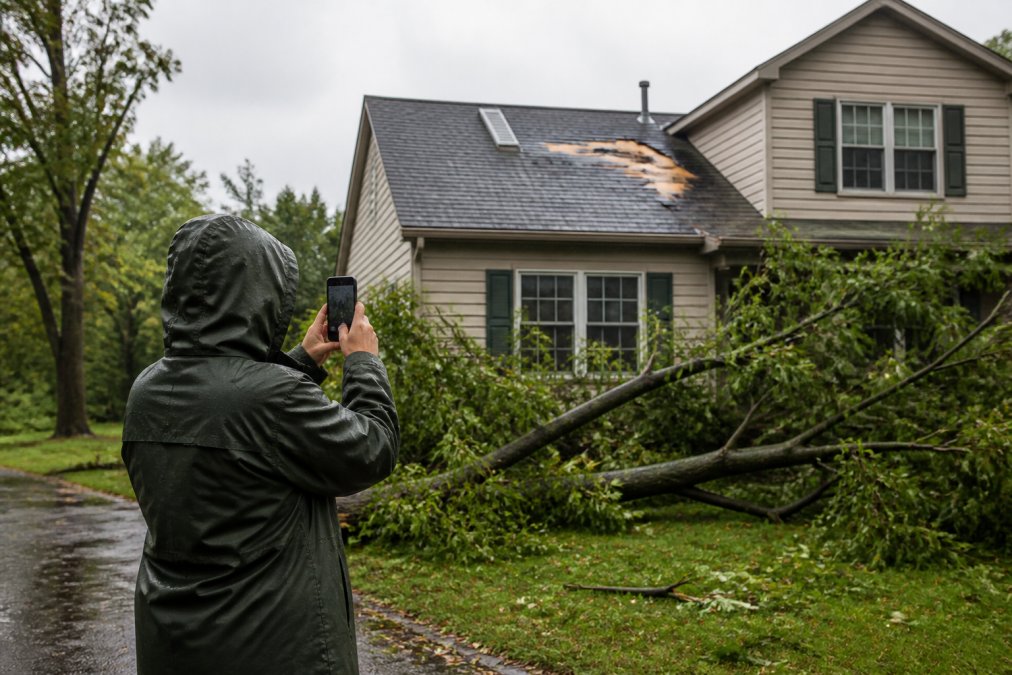
Photograph and record video of every affected area, including the roof, siding, windows, and interior ceilings. Capture wide shots of the overall scene and close-ups of specific damage. If it is safe, photograph the roof from the ground or use a drone for a better angle. Do not climb onto a damaged roof yourself.
After documenting, make temporary repairs to prevent further damage. Cover broken windows with plywood, place tarps over roof holes, and move furniture away from leaking areas. Keep every receipt for materials because your policy's coverage typically includes reasonable costs for temporary repairs and mitigation.
How to Document Storm Damage for Insurance
Thorough documentation is the backbone of a successful storm damage claim. Insurance companies rely on photographic evidence and itemized lists to calculate your settlement, so the more detailed your records, the stronger your position.
Create a room-by-room inventory of damaged belongings, recording purchase date, estimated value, and condition for each item. A simple spreadsheet works well. Photograph serial numbers on appliances and electronics. For structural damage, take photos from multiple angles and include a ruler for scale.
Your documentation should also capture the timeline: the date and time of the storm, the type of damage, and any repairs you made. If neighbors have similar damage, their photos can help establish that the storm caused widespread destruction, supporting your claim that the damage was not pre-existing.
Review Your Policy and Understand Your Coverage
Before you file a storm damage claim, read your policy declaration page carefully. It lists your coverage limits, deductible, and covered perils. Most standard policies cover wind and hail, but flood damage requires separate coverage (fema.gov).
Two terms determine how much you receive: replacement cost and actual cash value. Replacement cost pays to repair or replace with new materials of similar kind and quality (iii.org). Actual cash value subtracts depreciation, meaning you receive the item's current market value (naic.org). This distinction significantly affects your settlement, especially for an older roof.
Your deductible is the amount you pay out of pocket before insurance kicks in. If it is high and the damage is minor, filing may not be worth the premium increase that often follows. Get a contractor's repair estimate before filing so you know whether the damage exceeds your deductible.
Step-by-Step Guide to Filing Your Storm Damage Claim
The actual filing process involves several distinct steps, and each one has specific timing requirements you need to meet.
-
Contact your insurance agent or company immediately. Most policies require you to report damage promptly, and delays can jeopardize your coverage. Call your agent or use the insurer's mobile app to start the process. Have your policy number ready.
-
Ask for a claim number. Every claim gets a unique number that tracks your case. Write it down and reference it in all future communications. This claim number is essential for tracking progress and ensuring your paperwork lands in the right file.
-
Schedule the adjuster inspection. The insurance adjuster will visit your property to assess the damage in person. Ask when they can come and whether you can be present during the inspection. Being there allows you to point out damage they might miss.
-
Meet the adjuster with your documentation. Walk through your property with the adjuster, showing them your photos, videos, and itemized list of damaged belongings. Share your contractor's repair estimates if you have them. The adjuster works for the insurance company, so your documentation levels the playing field.
-
Submit the proof of loss form. This formal document summarizes your damages and the amount you are claiming. Your insurer provides the form, and you typically have a set period to submit it after the loss. Fill it out accurately; errors can delay your claim.
-
Track your claim's progress. Follow up regularly with your claim number. Ask about the timeline for the adjuster's report and when you can expect the claim settlement. Keep notes on every conversation, including who you spoke with and what they said.
| Step | What to Do | Typical Timing |
|---|---|---|
| Report the claim | Call agent or file online | Within 24-48 hours |
| Document damage | Photos, video, itemized list | Before any repairs |
| Adjuster inspection | Walk through with adjuster | Within 1-2 weeks |
| Submit proof of loss | Formal claim form | Within days to weeks |
| Track and follow up | Monitor with claim number | Until settlement |
Tips for Dealing with Insurance Adjusters
The adjuster who visits your property is paid by your insurer. Their job is to assess the damage and produce a report that determines your initial settlement offer. They are evaluated on the accuracy of their estimates and the speed of claim closure, not on maximizing your payout. Treat the inspection as a negotiation, not a formality.
Before the adjuster arrives, prepare a "damage packet" with your photo and video documentation, a room-by-room inventory, and repair estimates from at least two licensed contractors. The contractor estimates are the most important piece, they establish a baseline for repair costs. If the adjuster's estimate comes in 20% or more below your contractor's, you have concrete grounds to question their assessment.
During the inspection, walk the property with the adjuster and point out every area of damage you documented. Do not volunteer opinions about whether damage is pre-existing. If unsure about a specific mark, say "I don't know" rather than speculating. Also, do not sign any documents during the inspection, decline and review them with your contractor or attorney first.
If the adjuster's written estimate is significantly lower than your contractor's, you have three options. First, request a re-inspection and ask the adjuster to walk the roof with your contractor, who often spots damage adjusters miss from the ground. Second, submit a supplement with additional documentation, such as close-up photos and the contractor's line-item estimate. Third, if the dispute persists, hire a public adjuster to re-assess and negotiate on your behalf.
A public adjuster is a licensed professional who works for you, not the insurer. They are paid a fee, typically 5% to 15% of the final settlement, but only if they recover money for you. They are most valuable when damage is extensive and complex, when the company adjuster's estimate is far below your contractor's, or when your claim has been denied or underpaid. For a straightforward claim, their fee may eat into your settlement, so weigh the cost against the complexity of your loss.
What to Do If Insurance Company Denies Roof Claim
A claim denial is not a final verdict, but it triggers a strict, time-sensitive process. Common reasons for denial: damage deemed pre-existing or due to wear and tear, the policy excludes the specific peril, or you missed a reporting deadline. Your first move is to read the denial letter for the specific exclusion cited, the letter is the legal basis for the decision.
Your next step is to file a formal appeal, known as a "request for reconsideration," sent to your insurer's appeals department. The appeal must be postmarked within the window stated in the denial letter, often 30 to 60 days. Missing this deadline forfeits your right to dispute the claim.
Structure your appeal letter as a point-by-point rebuttal. For each reason the insurer gave, provide counter-evidence. If they claim the damage is pre-existing, include pre-storm photos or a contractor's affidavit stating the damage pattern is consistent with a single storm event. If they claim the damage is below your deductible, include a line-item repair estimate showing the total cost exceeds it.
If the internal appeal is denied, your next option is an external review. Many states offer a mediation or independent review process through the Department of Insurance. This is free or low-cost and handled by a third-party reviewer. File a complaint with your state's insurance commissioner, who will initiate the review. Insurers often settle rather than face a formal inquiry.
A public adjuster becomes a strategic asset at this stage. Licensed by the state and working exclusively for you, they are typically paid 5% to 15% of the final settlement, but only if they recover money for you. If your claim was denied, they can re-inspect the property, re-document the damage, and file a comprehensive appeal. They understand the language insurers use to deny claims and know how to counter it, often justifying their cost through a higher settlement.
If all administrative avenues are exhausted, you have the right to file a lawsuit for breach of contract. Consult an attorney who specializes in insurance bad faith litigation. Under most state laws, if an insurer acted in bad faith, such as denying a claim without a reasonable basis, you may be entitled to damages beyond policy limits, including attorney's fees. Document every interaction and keep a log of phone calls with dates and names.
Conclusion
Filing a storm damage claim step by step requires patience, organization, and a clear understanding of your policy. The homeowners who succeed document thoroughly, communicate professionally, and know their rights when disputes arise. Start with safety, protect your property, and build a complete record of what the storm destroyed.
At Bringas Insurance, we help policyholders understand their coverage before disaster strikes, so the claims process feels less daunting when it matters most. Our team can review your current policy, explain your deductible and coverage limits, and help you find the protection your home needs. Get a free quote today and gain the peace of mind that comes with knowing your largest investment is properly covered.
Frequently Asked Questions
How long do you have to file a claim after storm damage?
Most homeowners insurance policies set a reporting deadline for filing a claim, often within one year of the damage, but it can vary. Check your policy declaration page or contact your agent to confirm your specific time limit. Waiting too long can put your claim at risk, so report the damage as soon as it is safe to do so.
What should you avoid saying when filing an insurance claim?
Stick to the facts and avoid speculating about the cause or extent of the damage. Do not admit fault or say you are not sure if something was damaged before. Never agree to a settlement on the spot or sign a document without fully understanding it. Instead, state what you observed and let the adjuster's damage assessment guide the process.
How does the storm damage insurance claims process work?
The process starts with you reporting the damage to your insurer. An insurance adjuster will then assess the damage to your property. You will need to provide documentation, such as photos, video, and an itemized list of damaged items. After the assessment, the company will issue a claim settlement based on your policy's coverage limits and deductible.
What documentation is required to support a storm damage claim?
You should provide photographic and video evidence of the damage, an itemized list of damaged or destroyed property, and receipts for any temporary repairs you made. A detailed damage assessment from a contractor can also support your claim. This documentation helps the adjuster verify the extent of your loss and process your claim accurately.